One of my managers is the proud daddy of twins.... Madeline & Jett, and I wanted to make him something special to keep those memories in.
I decided to make him a gate mini album so that one side could be for Madeline and the other for Jett. I ♥ to make interactive albums (where the pages hide things and do things...) but they do become very chunky so I initially was going to bind this using my Zutter machine but of course the album became too large so I then decided to use (6) 1.5" rings to hold the album together. First off, can I say that the theme of the nursery is "Owls" so throughout the mini you will see that I use owls for embellishments. The paper I used was DCWV "The Little Miss" & "The Little Mister". For the cover I took wooden letters purchased at Michaels, painted them lime green. Allowed them to dry then put a nice coat of Elmer's glue on top and while wet applied a layer of white acrylic paint. The glue creates a wonderful cracked effect.
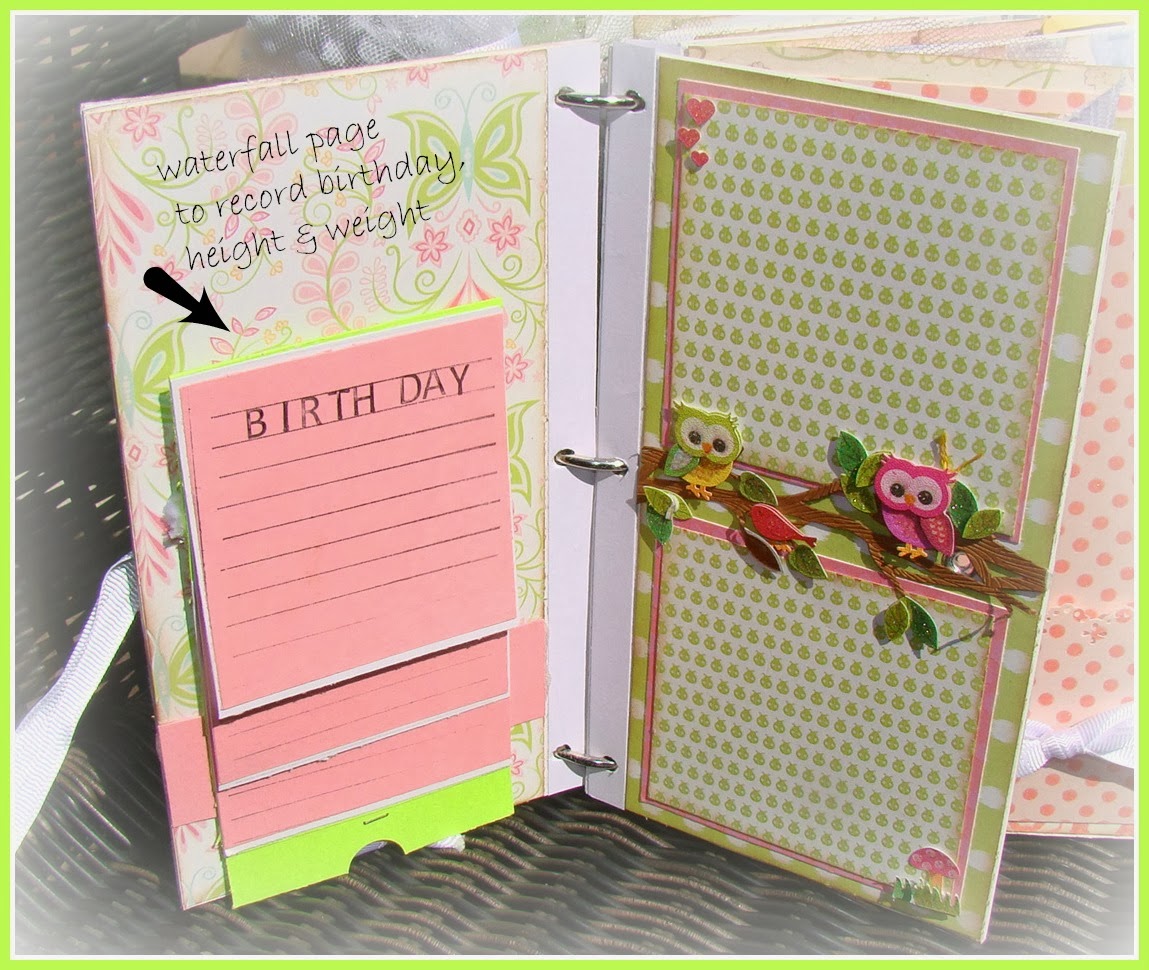
The first page was created using the "waterfall technique" that allow lots of journaling regarding the birth... ex: birthday, color of hair, eye, height, weight etc.
I created pockets throughout the album to accompany tags for additional places for photos and journaling.
The next page was made using a large chipboard heart and covering it, then using double ruffled tulle , I glued this around the edges, finishing off with a simple charm.
The next page was a simple but an effective layout to allow 2 photos.
The next page was made by creating a pocket under the main photo mat. Tags were created and jump rings attached to each tag to hang from the safety pin.
The next page was inspired by
Laura from "Follow the Papertrail" . I had to change the dimensions but the idea of an Owl pocket photo mat was adorable. This was so fun to make.
The next page for Madeline a gate fold photo mat which when open creates more space for more photos and journaling.
And now for Jett's pages.... the first was also a waterfall to provide room for all his statistics, the next 2 pages were simple layout forms that allowed for several photos.
A side belly band was created for the next page that gave room for a couple #8 size tags that give plenty of room for photos and journaling.
Criss Cross pockets were used on the next page for a different visual effect and provided a home for 2 more tags and behind that is of course the main photo mat.
The next page I created leaving the top of the page open which allowed for two large index photo mats to be placed inside. A diagonal pocket was created for holding a tag for journaling.
Since Madeline had an owl page, Jett had to have one also...
The next page was created as an explosion box, I used jute to tie it closed and when open it provides enough room for 5 more pictures. I also used a small paper bag and matted it then added 2 tags for the inside for additional photos and journaling.
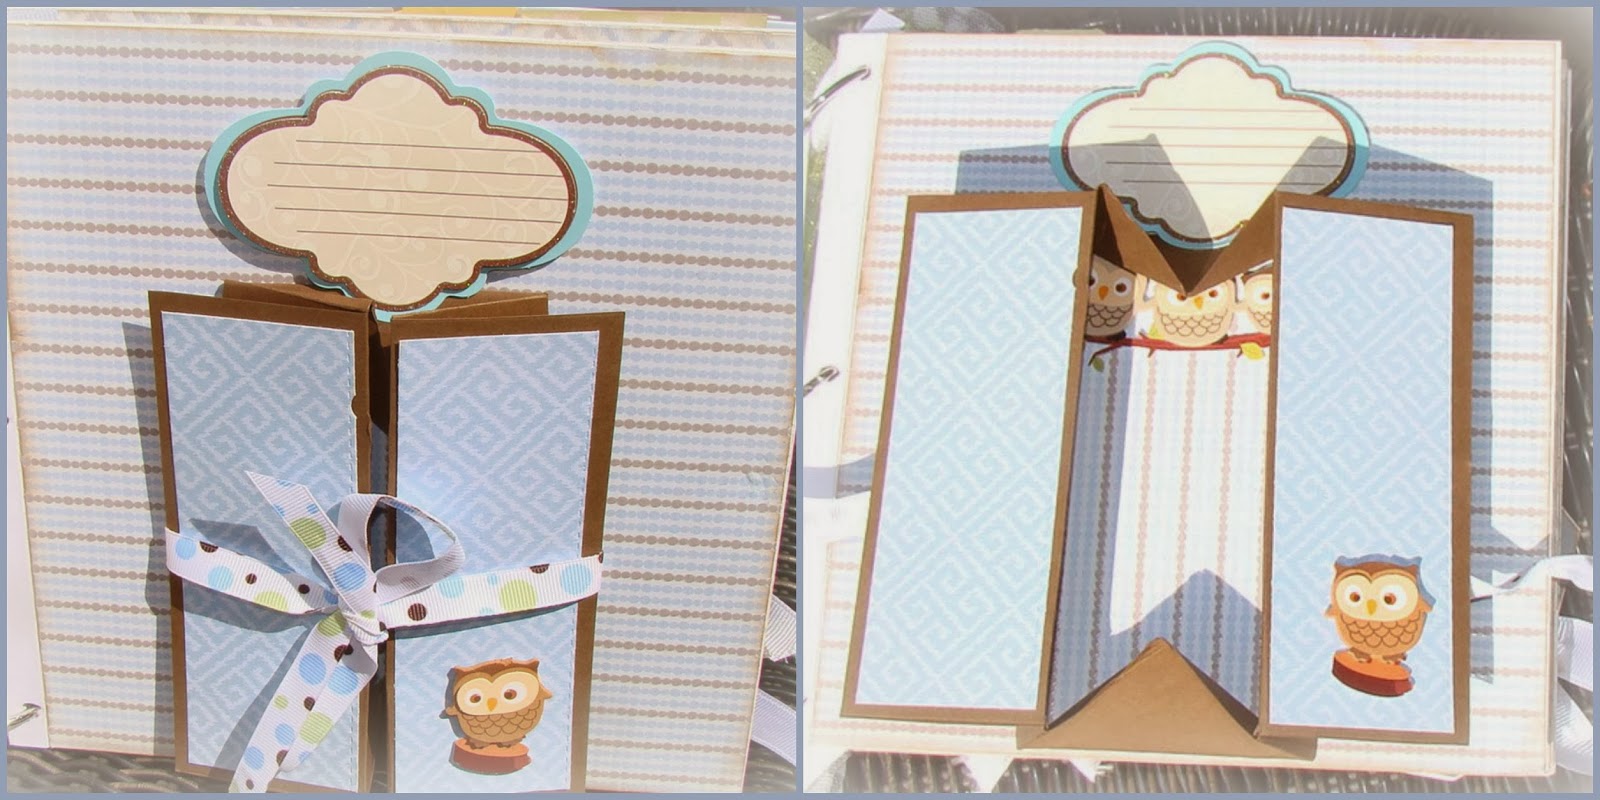
The last of Jett's pages was a pop up box which has room on either side for pictures then is tied with ribbon and then when open it pops into a little box for another picture
The very last page of the entire album is one large page so I decided to make this the family page where everyone can be in the photo together.
This was such a fun album to make. Other products I used for this project were, I Am Roses flowers, Prima "Say It With Crystals" Jolee's 3D Stickers, filmstrip, doilies, assorted buttons and metals. To finish off the album I added tulle, and ribbons and I used ribbon for the closure. I hope you enjoyed this and I can't wait to give this album for my gift. xoxo Happy Creating Toni